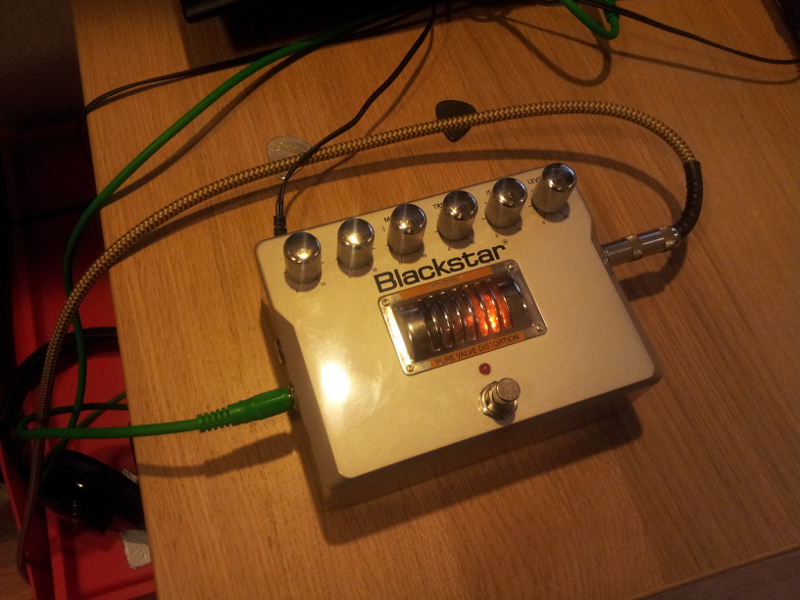
If you own a Blackstar distortion or overdrive pedal, you may get the feeling that there´s even more “tone” to get from these pedals than what´s delivered from the factory. Yes there is, and the solution is to replace the cheap 7025/12AX7WA Sovtek tube (or valve) that came with the pedal. In my case it´s a HT-Dist. Maybe Sovtek isn´t a bad brand, but I guess Blackstar didn´t pick these from the top shelf..
While we´re at it, why not clean the pots? You may experience crackling scratchy noise, and there is a solution for that too.
And by the way – this guide shows how to replace the tube the hard way..from the bottom. When following this guide you will probably agree that in this case, the hard way is also the right way.
Before we begin: This guide shows how I believe it should be done. I have no training but great success. I cant promise it will be the same for you.
1. The pedal
Of course you need the pedal…and a small philips screwdriver, a wrench, and a piece of paper or cloth. If you are about to clean the pot´s, you also need a lubricant for this. Not any lubricant – it should be the right kind. Ask for it in your favourite electronics store.
.jpg)
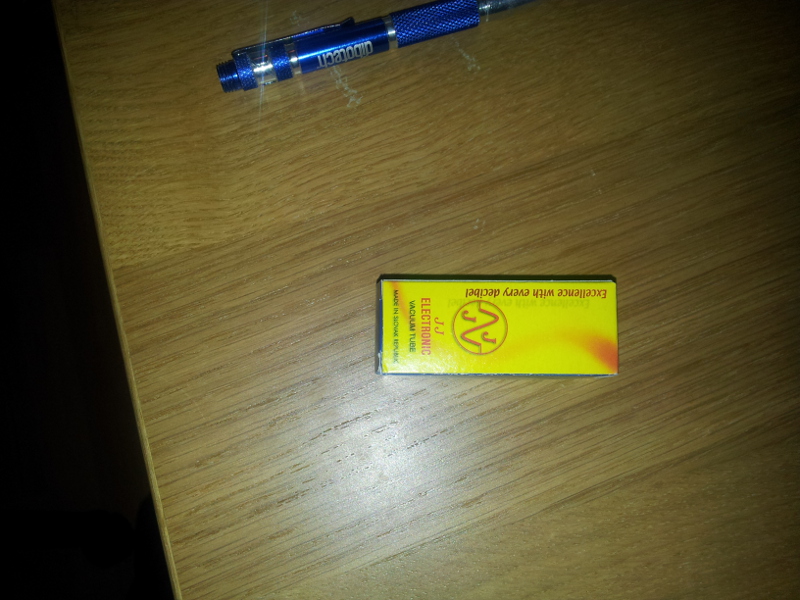
2. The replacement tube
In my case it´s a JJ tube (jj-electronic.com) ECC83 S – 12AX7, 7025. Manufactured in Slovakia, and is supposed to be of really high quality..yet it was really cheap. Be aware that most brands are just brands. Blackstar, Fender, Marshall..you name it – they don´t make these tubes themselves. There are just a few factory´s in the world, and most tubes are just rebranded.
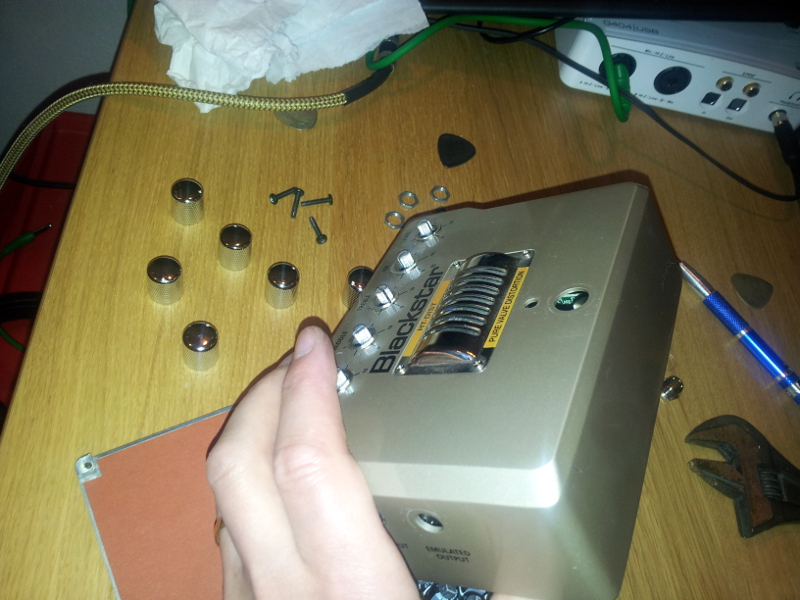
3. Unscrew the four screws holding the bottom plate.
4. Unscrew the nut holding the stomp button (is that the word for it?)
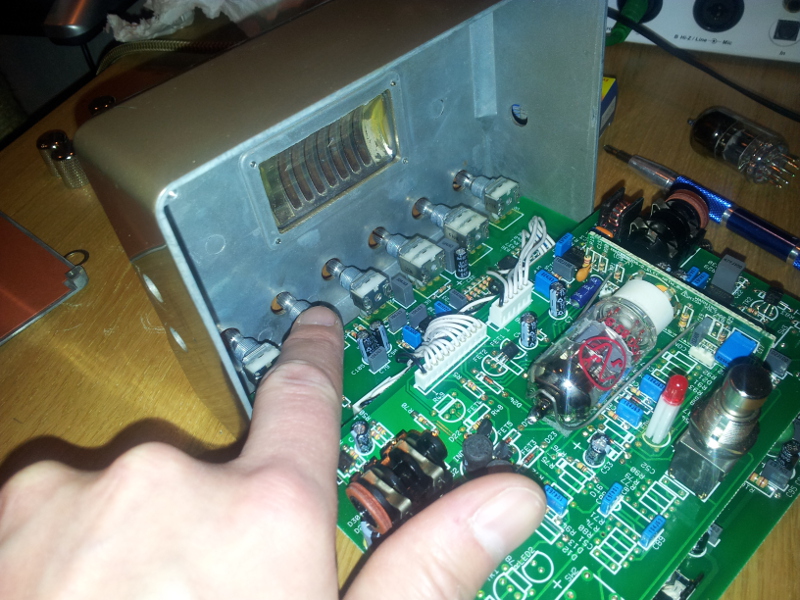
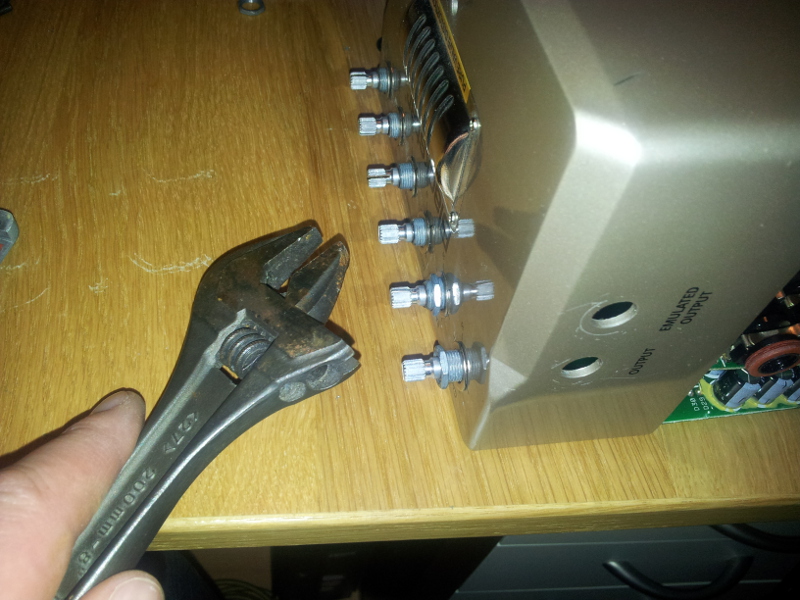
5. Unscrew the nut´s (3) holding the jack´s.

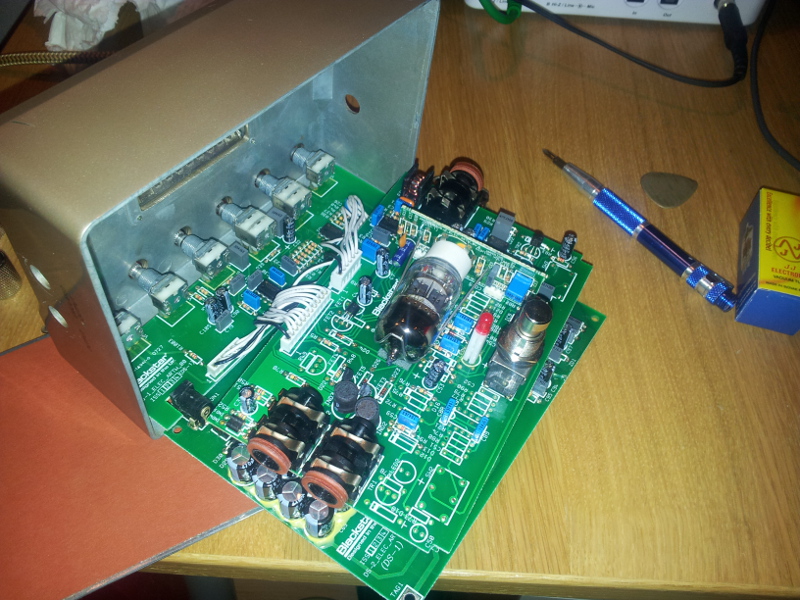
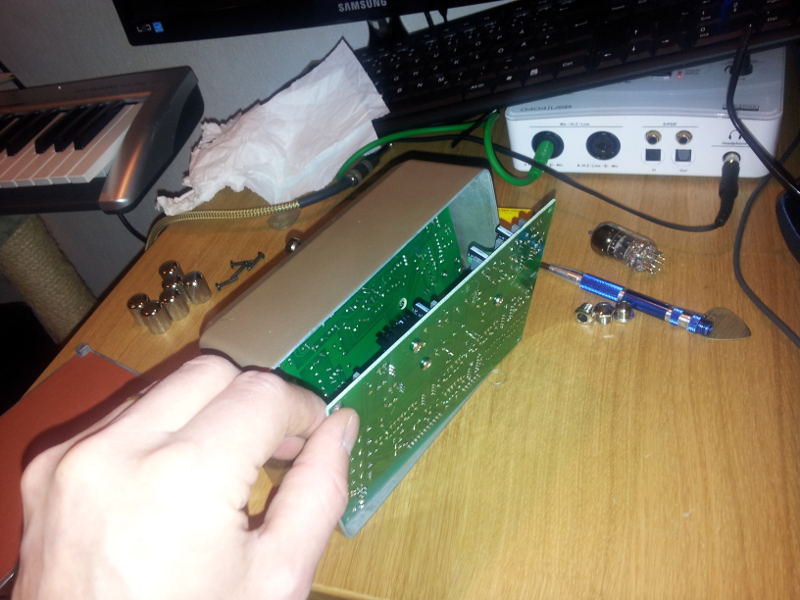
6. Gently loosen the bottom board
Do this after removing the bottom plate. The board isn´t attached to anything after removing the bottom plate, and should easily fall out. Thinking about it, this step should rather wait until after step 7-9.
.jpg)
7. Remove knobs
This is necessary if you want to lubricate the pots. They may be difficult to remove, but you are supposed to just lift them right up.
.jpg)
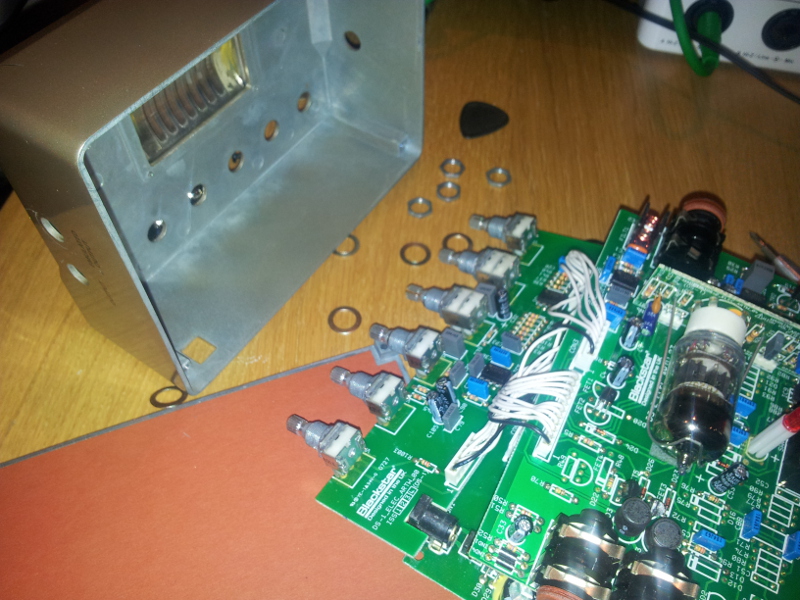
8. Unscrew the nuts holding the pots
.jpg)
9. Gently lift the chassi
..and let the pots and the stomp button fall out..
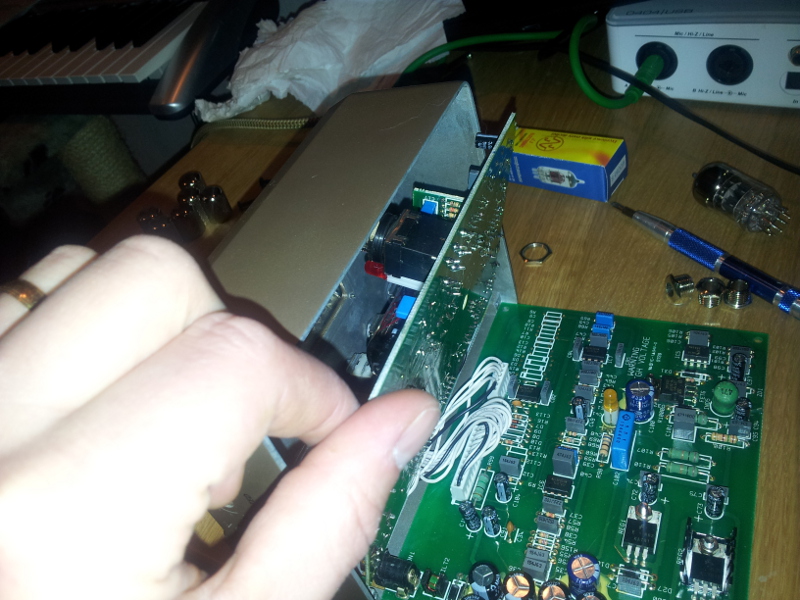
10. Completing the steps so far..
..you will be able to let the boards fall out from the bottom. Be gentle – they are attached to nothing but each other now. There will be the bottom board, the “middle” board holding the tube, and the small vertical board holding the pots.
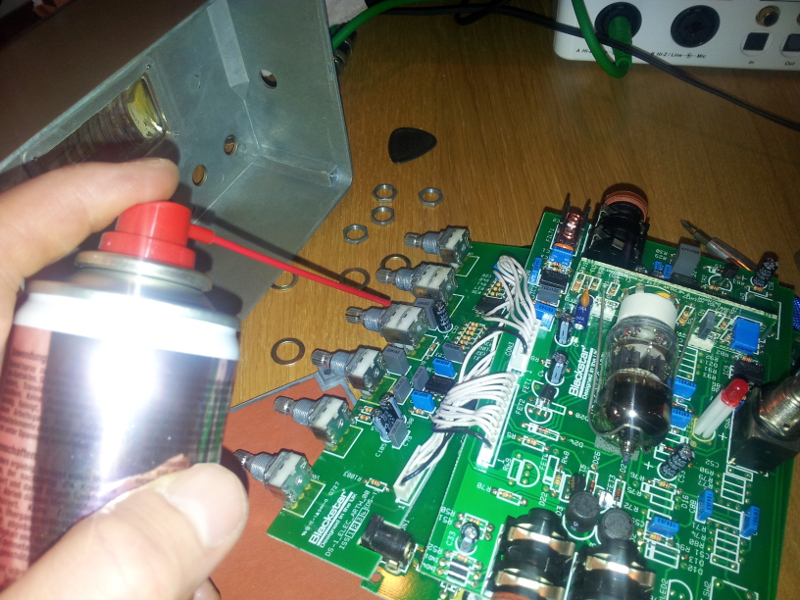
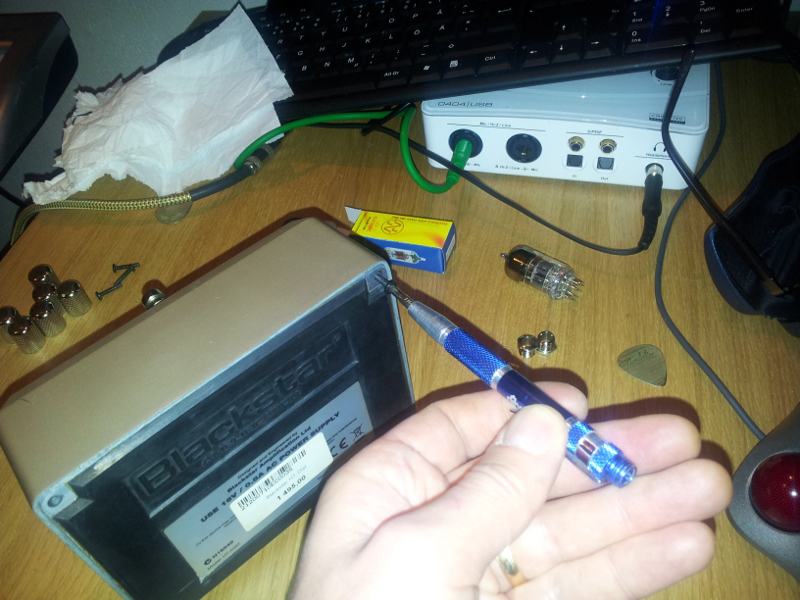
11. Lube the pots
Don´t use any old lubricant or you will most likely destroy the pots! Ask for the real stuff in a real electronics store. Be really careful here. I sprayed tiny amounts of lubricant in holes that seemed to have just that purpose. It did have the desired effect. Be really careful to not spray or drip on to the board and the circuits, because you might cause a short circuit if unlucky.
12. Time to remove the old tube..
Gently lift the clip holding the tube. There is nothing to be cut or soldered. After lifting the clip, it can be removed after lifting it all the way and then pulling it off the board.
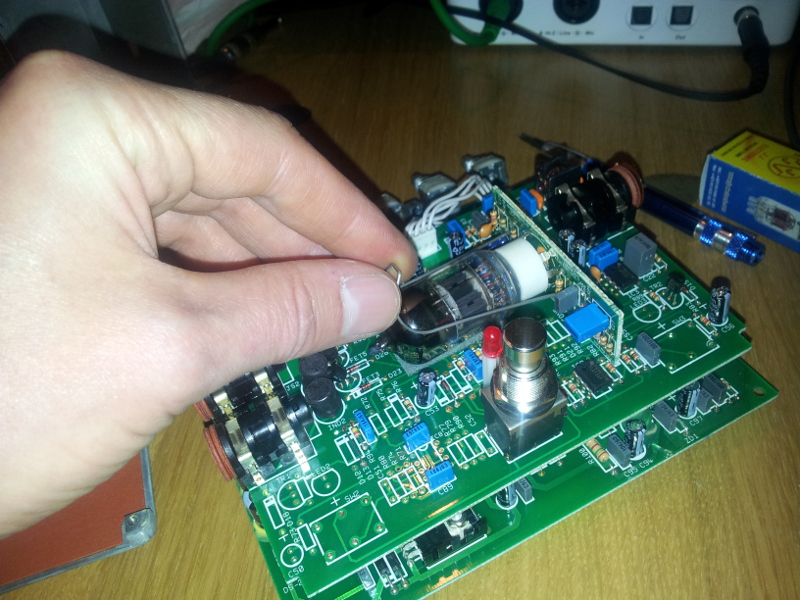
13. Removing the old tube
This can be really tricky, as the tube socket is attached to a tiny vertical board that seems very fragile. I used one of the washers to gently move it back and forth to make it loosen from the white plastic socket. After loosening it a bit, you can gently pull it out while holding the vertical board with the other hand.

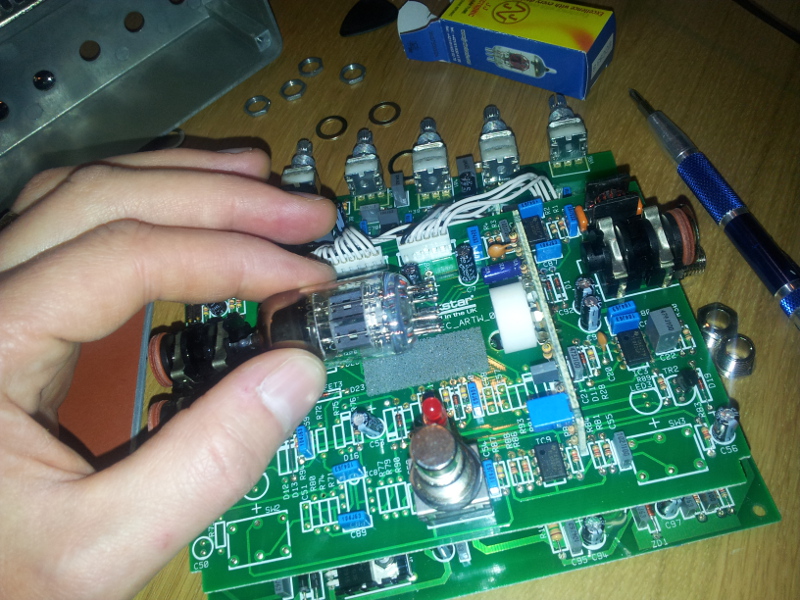
14. Attach the new tube
This is basically step 13 in reverse, but I held the tube with a piece of paper. The tube will get very hot after use, and any grease or dirt may burn to the glass. Be gentle..
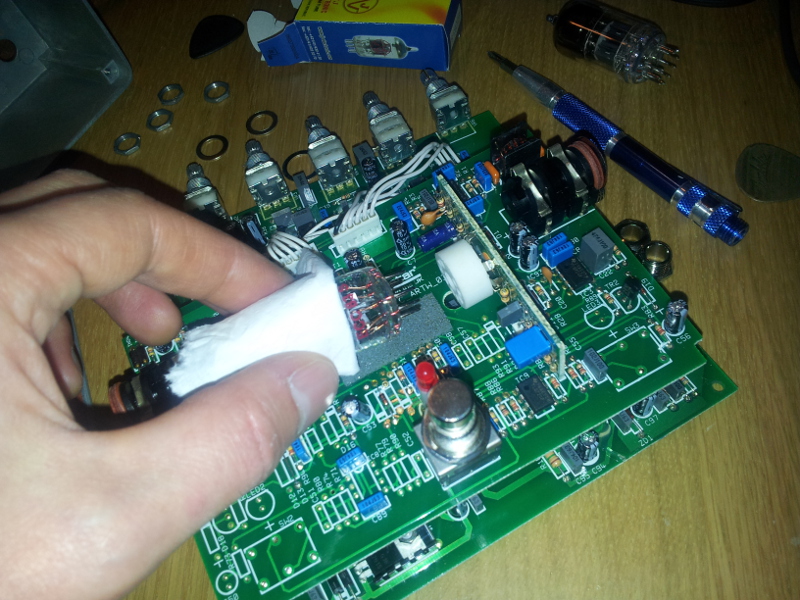
15. Don´t forget the clip holding the tube..
.jpg)
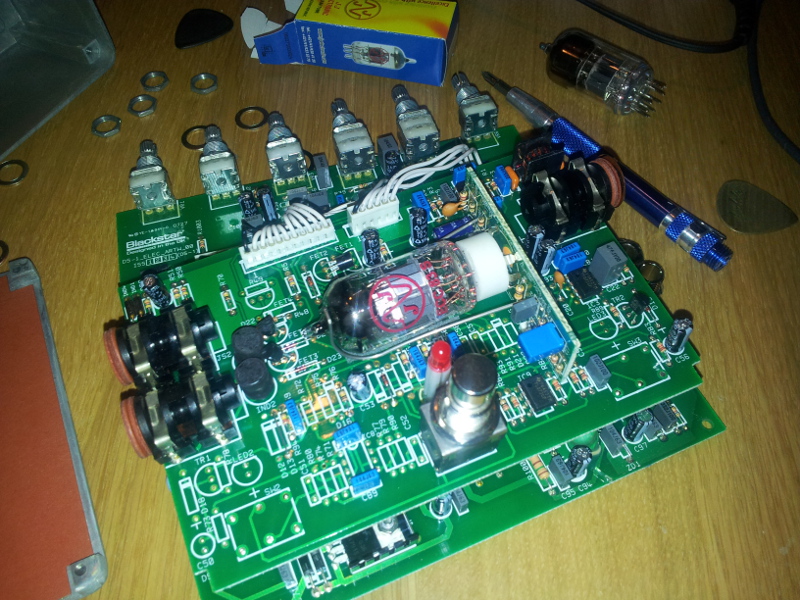
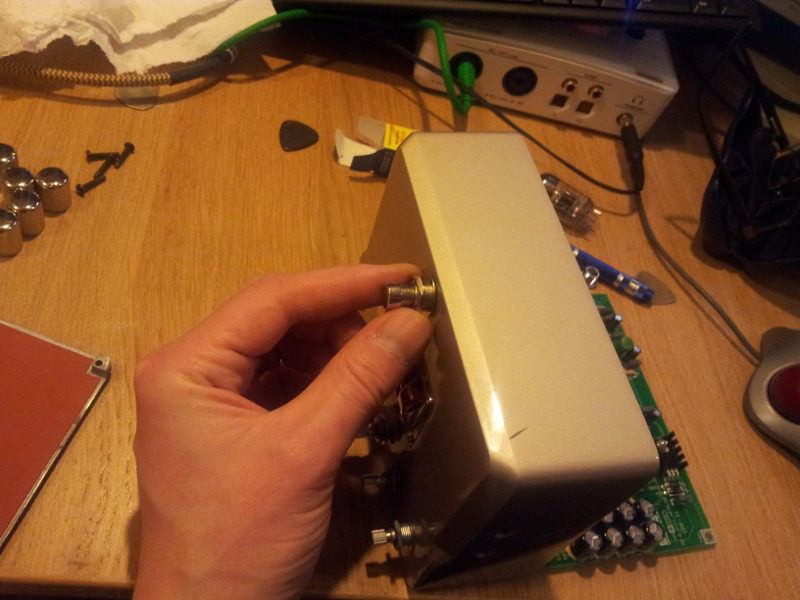
16. Time to re-assemble!
..start with putting the pots in place.
17. Gently put the boards back in place
18. Fastening the stomp button and the pots..
19. Gently put the bottom board back in place
20. Screw the bottom plate back in place
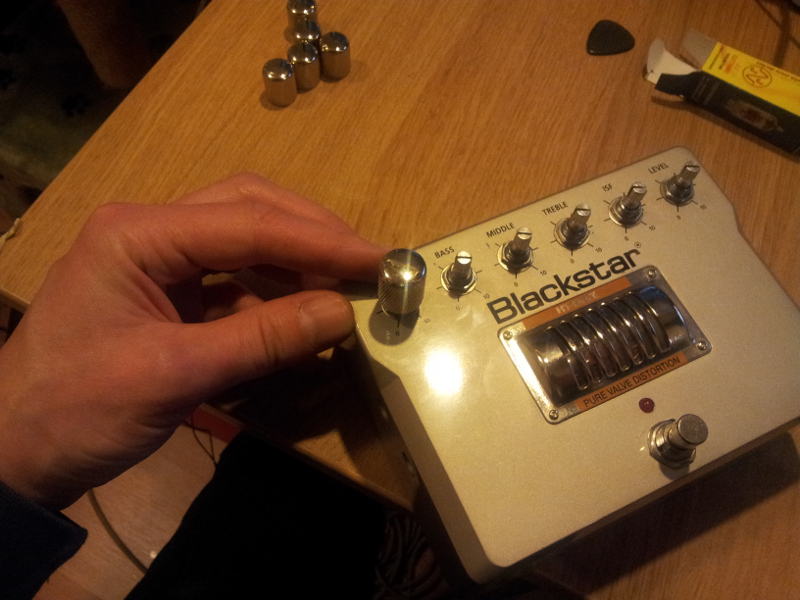
21. A tip for putting back the knobs
..turn them all down to zero, and make sure you align the marking on the knob to the “0” on the chassi.
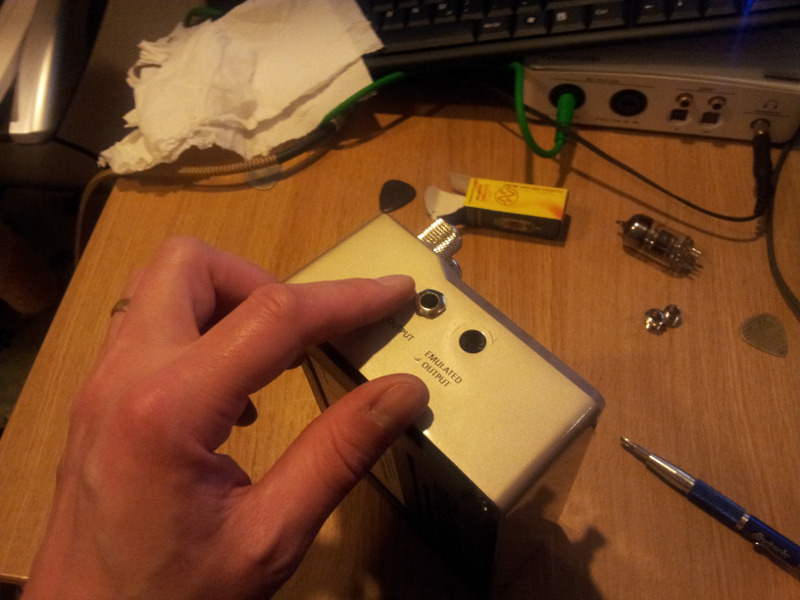
22. Put the jack nuts back in place
After tightening all other screws and nuts, there should be no problem making this the last step.
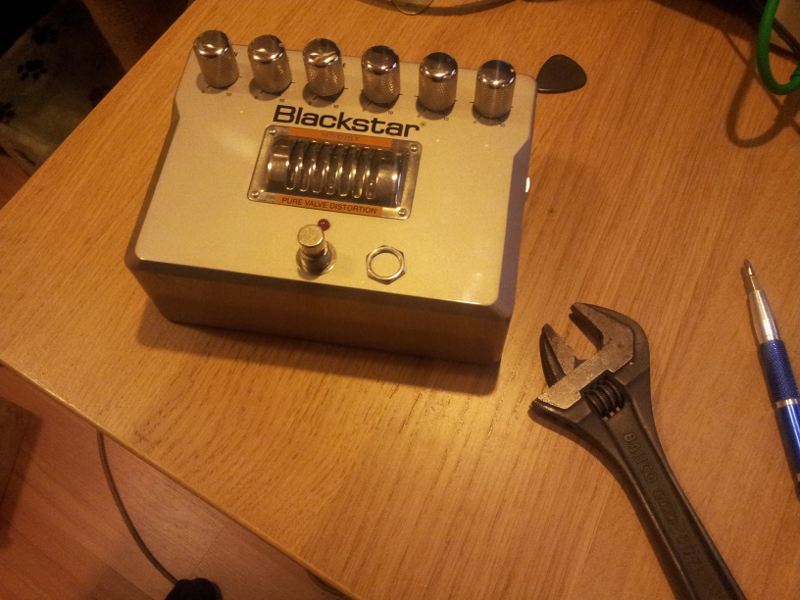
Done!
And how does it sound? I must say it was a remarkable difference. Turning the EQ knobs is now a totally different thing – you can really hear the bass, middle and treble changing. And the ISF filter and Gain the same. The HT-Dist now sounds more “real” and gone is that plastic boxy sound. And I never thought the old tube was noisy..until now! It´s now a clean, noise free, and dynamic sounding pedal. Going from smooth low gain and letting my Telecaster “speak”, up to higher gain and having a really thick and smooth distortion.
This job was well worth the effort!